Categories
Uncategorized

How To Ease Your Kid Into Clean Their Room

Teaching your kid to be responsible and clean up their room requires more than just giving them orders. You need to be patient and sympathetic to them, not make them feel like cleaning is a punishment.

Are you looking for a way to make this ordeal manageable? Luckily for you, here are four tips to gradually get your child to clean their room.

Tip #1. Ease your kids into chores

Cleaning is not the most enjoyable thing to do. So, if you need to prepare yourself mentally to get into a cleaning mood, now imagine how your children might feel. How can you help them? Let them know what to expect!

For example, a friendly warning like “When your cartoon ends, you need to clean your room” prevents you from being too sudden in replacing a fun activity for your kids with a boring chore. You can also involve your children in creating a schedule so they know when cleaning time is.

Tip #2. Assign children tasks appropriate for their age

Kids are still developing their mental and physical abilities. If you assign them chores beyond their skills or reach, they can feel frustrated and insufficient—loathing cleaning even more.

So, the best thing to do is to give your kids appropriate chores for their age. For example, while kids of all ages can basically toss the dirty laundry in its basket, older kids can make the bed or  handle cleaning tools like a mop and vacuum cleaner.

Tip #3. Show them how to do the task

Making children do something they don’t really know can frustrate them, and just telling them the instructions doesn’t help sometimes. Your best approach is showing your kids how the task is done first.

As you recreate the task, describe the steps you take—be as specific as possible so they are clearer for your child. Then, invite your kid to help you and aid them if they get stuck.

Do this whenever you need your child to do a specific task they struggle with, and as many times as necessary until they get a hold of it.

Tip #4. Recognize your child’s efforts

Recognizing your kid’s responsibility will help them see cleaning chores in a better light and improve their confidence and self-esteem.

Reward your children with something they like whenever they fulfill their cleaning duties. However, you need to tread carefully, or they will do it only for the reward. Alternatively, a simple “Well done!” or “Thanks for your help” can mean so much to them.

Eventually, they’ll begin to associate cleaning chores with positive feelings.

What can you do if your kid refuses to clean?

Just like adults, kids aren’t always in the mood for cleaning and might go as far as displaying temper tantrums. When this happens, don’t argue with your kid to avoid making things worse. Instead, let some time pass so the situation calms down.

Also, don’t punish your kid; talk with them about the consequences that come with their actions, but in a friendly manner. For example, if they refuse to clean, tell them they’ll have to do it later anyway but will use part of their play or TV time.

Last but not least, if you have more than one child, be sure to distribute chores equally. Otherwise, they could feel like you’re not being fair, causing more resistance to cleaning tasks.

We can help you to tackle your chores!

Teaching your kids to clean by themselves is a process that takes time. So, what about cleaning the rest of your home? Rochester Residential & Commercial Cleaning will take over your cleaning duties while you spend time with your children. Book online with us now!

Categories
Uncategorized

6 Quick Cleaning Tasks For Your Spare Time (They Take Minutes!)

Cleaning can become a tall order. However, with these six cleaning tasks, you can still make a dent in your chores in only a few minutes of your day!

Rochester Residential Commercial Cleaning 6 Quick Cleaning Tasks For Your Spare Time They Take Minutes scaled

Don’t have enough time to clean your entire house? Let Rochester Residential & Commercial Cleaning do it for you! Book here.

Categories
Uncategorized

How To Easily Clean A Dishwasher (With Vinegar And Baking Soda!)

Maintaining your dishwasher clean is as important as washing your dishes, especially if you use this appliance frequently. 

Luckily, cleaning and disinfecting your dishwasher is easily done with the help of vinegar and baking soda. Check out this easy step-by-step method to learn how to do it.

Does vinegar damage the dishwasher?

There are many cleaning products to choose from, but not all are good for this appliance. Some of them (such as bleach) could even damage the dishwasher’s walls. Luckily, vinegar is not one of them!

While it’s true that vinegar could corrode the inner workings of the dishwasher, washing the walls and the door won’t harm the appliance as long as you don’t put the vinegar in the detergent compartment. 

In fact, vinegar is a great way to loosen up stuck food and stains, which makes it the perfect choice for this task.

How to wash the dishwasher in four steps

Cleaning your dishwasher with vinegar and baking soda is simpler than you think! Just follow these easy steps and see how your appliance goes from grimy to spotless.

Step 1. Empty the dishwasher

First, you need to take the racks and dishes out of the dishwasher. You can wash the racks with soapy water over the sink, and the dishes—if not clean—can wait for when you’re done with the appliance.

During this step, check if your dishwasher has a self-cleaning filter. If so, there’s nothing else to do for this step! However, if it doesn’t have this feature, you need to take it out, clean it, and put it back before continuing with this method.

Step 2. Wipe off the food residue

Now that you have room to clean, wipe the crumbs and food bits off with a microfiber cloth. Doing so helps remove any loose grime that could get stuck to the dishwasher walls when running your washing cycles.

Step 3. Run a washing cycle with vinegar

For the vinegar to remove the grime, you need to pour two cups of white vinegar into a dishwasher-safe bowl, place it at the bottom of the appliance, and run a hot water cycle on the dishwasher.

During this cycle, the heat from the water and the vinegar’s acidity will loosen up the grime and stains on the appliance walls.

Step 4. Run a cycle with baking soda

After the first cycle, take out the bowl and sprinkle some baking soda at the bottom of the dishwasher. Since baking soda is a natural deodorizer, it will trap any odors from the dishes the appliance washes and even vinegar if it hasn’t dissipated yet.

Extra step: clean the rubber seals

The dishwasher rubber seals seldom get dirty since they’re not in contact with the grimy dishes. However, every once in a while, a little bit of dirt can make its way to the gasket.

So, even if you don’t need to clean your whole appliance, you can wash the rubber sealing with a toothbrush and soapy water. Either rinse the residue off with a wet cloth or run a quick cycle, and you’re done!

Do you have lots of chores? Let us clean your home!

Why complicate your life when you can get help from cleaning professionals?

With Rochester Residential & Commercial Cleaning, you can stop worrying about cleaning your house and leave it to our well-prepared team! Get your quote today.

Categories
Uncategorized

6 Debunked Disinfecting Myths That Bacteria Want You To Believe

Regarding disinfecting, it doesn’t hurt to ask yourself twice if you are doing it right; after all, it involves your health. In this infographic, you’ll discover long-believed facts about disinfecting that aren’t actually that truthful.

Rochester Residential Commercial Cleaning 6 Debunked Disinfecting Myths That Bacteria Want You To Believe scaled

Rochester Residential & Commercial Cleaning uses EPA-approved chemicals to leave your house spotless (we also are pet-friendly!). Ask for your free estimate!

Categories
Uncategorized

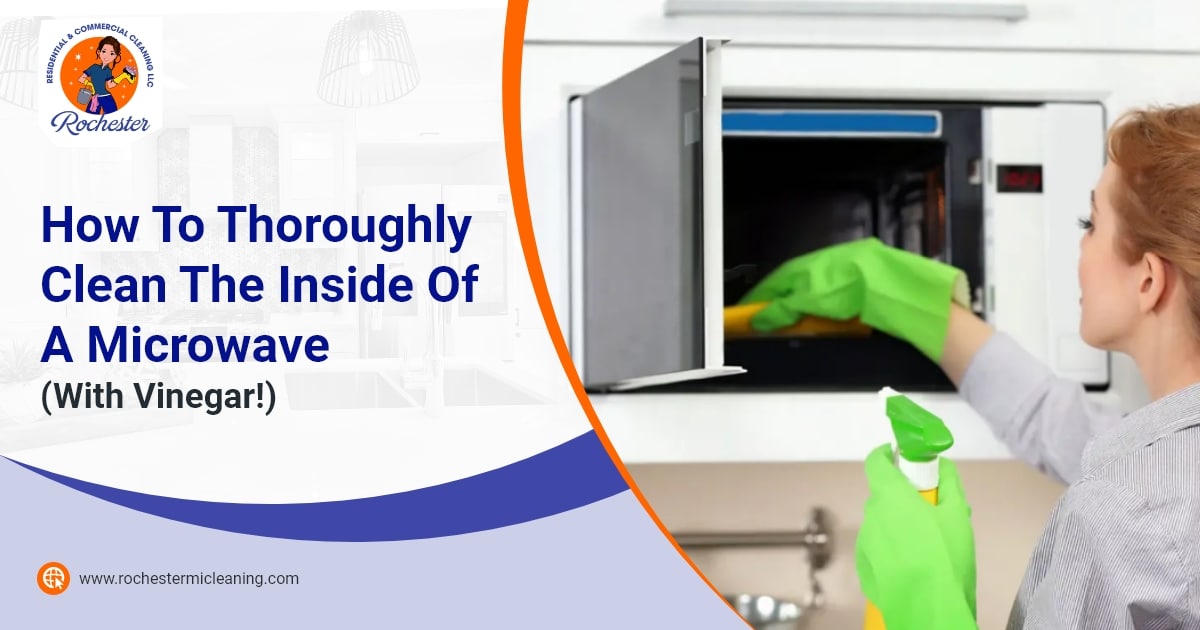
How To Thoroughly Clean The Inside Of A Microwave (With Vinegar!)

When heating food in a microwave, ending up with a mess is only a matter of time. Luckily, cleaning a microwave is easier than it looks. Here, you’ll learn how to tackle this chore using items you already have in your house.

Step #1. Wipe the debris and scrap off stuck-on gunk

Before anything else, you need to remove as much gunk and debris as possible to avoid further messes. Besides, dried food could catch fire if heated in a mostly-empty microwave for extended periods (precisely what you need to do in the next step).

Step #2. Heat a bowl filled with vinegar

Although there are several products for cleaning appliances, the truth is you don’t need anything fancy. A bowl of vinegar heated for three minutes is enough to eliminate most stains—also, it doesn’t leave pesky chemicals behind.

As the vinegar gets heated, it will release steam, loosening up the dirt on the walls. Don’t open the door when the time’s up. Let more steam cover the walls for a couple more minutes while everything cools down.

Step #3. Wipe the microwave walls

Once the bowl and turntable are safe to the touch, take them out. Then, use a microfiber cloth dampened with warm soapy water to wipe off the now-loosened grime. Be careful not to leak water through the ventilation holes because it could damage the appliance.

How to clean stubborn stains on your microwave

If there are lingering stains after completing the previous steps, you can use the scrubbing power of baking soda to remove them. Mix half a cup of baking soda with a few tablespoons of water to make a cleaning paste. If necessary, adjust the quantities until reaching toothpaste consistency.

Then, spread a thin layer of the paste over any challenging stain and let it sit for 10 minutes. Then, dip a soft toothbrush in warm water and scrub the stains.

Step #4. Wash the turntable

Boiling and overflowing liquids tend to end up on the turntable, which, most of the time, makes the plate dirtier than the rest of the microwave. Washing it apart lets you clean it thoroughly; besides, it is more comfortable than cleaning it inside the microwave.

Place your turntable in the sink and use warm soapy water and your kitchen sponge to clean it. Thanks to the steam, you won’t need too much elbow grease to leave the plate spotless. However, you can use the rough side of the sponge if you encounter hard spots.

Step #5. Rinse and dry

To avoid leaving traces, smudges, or marks (the main objective is to leave the microwave oven spotless, after all), you’ll need to rinse before finishing. So, dampen a clean microfiber cloth with water and give your microwave a final wipe. Once you’re done, dry it with another clean rag.

We can leave your microwave spotless!

Rochester Residential & Commercial Cleaning delivers outstanding cleaning services to Rochester Hills and surrounding areas. Besides leaving your house in pristine condition, we tackle the grime inside your microwave! Get a free estimate today.

Categories
Uncategorized

6 Essential Oils That Are Essential For Your Household Cleaning Chores

Are you tired of strong-smelling chemicals filling up your home every time you clean? Try using homemade products instead. Here are the best essential oils you can use to clean and leave your home smelling nice.

Rochester Residential Commercial Cleaning 6 Essential Oils That Are Essential For Your Household Cleaning Chores scaled

Rochester Residential & Commercial Cleaning always uses safe, non-toxic products when cleaning your home. Get your quote now.

Categories
Uncategorized

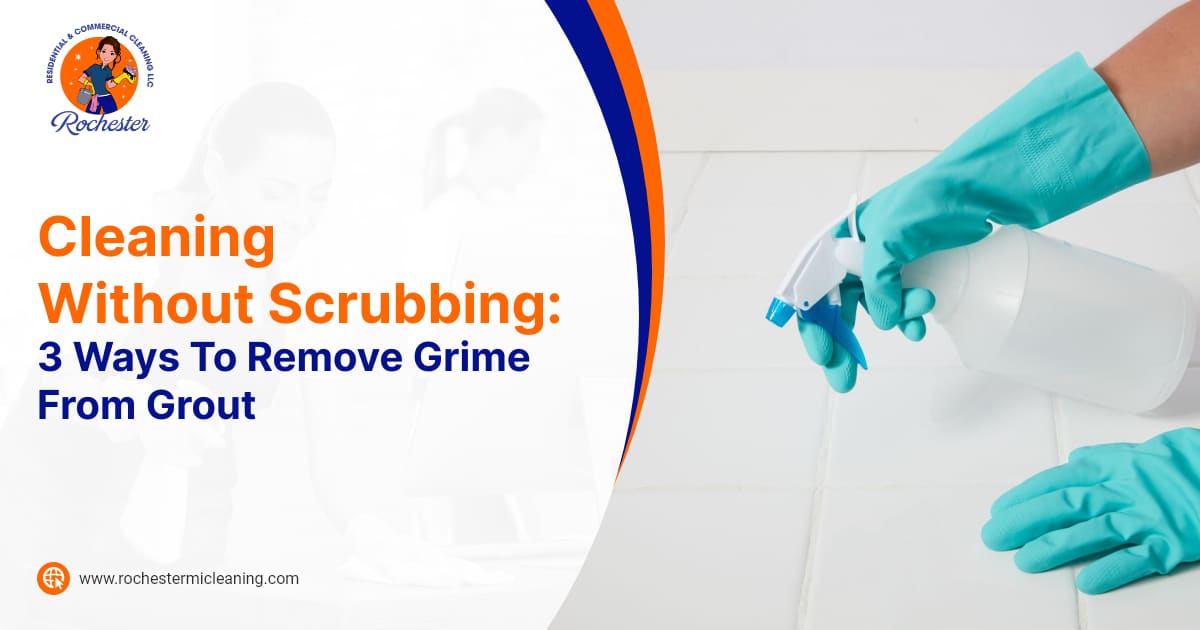
Cleaning Without Scrubbing: 3 Ways To Remove Grime From Grout

Although there are plenty of methods online for cleaning your grout without scrubbing, some will always work better than others. So, here you’ll find three functional and effortless methods to remove the grime from your grout—without having to scrub!

Method #1. Hydrogen peroxide and baking soda

These two common household items are powerful cleaners on their own. However, when mixed, they unleash their true potential, removing the most stubborn grime from all surfaces—including grout.

Make this DIY solution by mixing equal parts of hydrogen peroxide and baking soda inside a spray bottle. Optionally, add a little dish soap for extra cleaning power. Once your solution is ready, spray it generously over the grout you want to clean.

Let the mix sit for 10 to 15 minutes to act on the grime. After time’s up, dampen a cloth with warm water and wipe the grime off the grout. Although this part requires some elbow grease, you’ll save yourself the hassle of scrubbing through all the tiles.

Method #2. White vinegar

Vinegar is an excellent alternative when you don’t have hydrogen peroxide or baking soda handy. Just be careful, as vinegar’s cleaning power comes from its acidic nature, and it could damage natural stone and unsealed grout.

You’ll only have to mix 4 cups of water and 1 cup of vinegar and put the solution in a spray bottle. Then, cover the grout generously with the mixture and let 10 minutes pass. The solution will loosen and dissolve the grime in the meantime.

When you are ready, remove the grime with the help of an unsoiled cloth, and rinse your floor with clean water.

Pro tip: If you want to prevent your room from smelling like vinaigrette dressing, add a few drops of essential oil to the mixture.

Method #3. Oxygen bleach

Oxygen bleach will help you when baking soda and vinegar aren’t enough to remove the stubborn grime on the grout. However, its greater effectiveness comes with a price: it can damage your grout and tiles. So, it is recommended to use it only when necessary.

To harness the power of oxygen bleach, make a solution with 1½ tablespoons of oxygen bleach powder and 1 gallon of water—mix until the two substances combine completely. Then, apply the solution with a clean cloth for small spots, or use a mop to cover larger areas.

Once you’ve applied the solution, wait between 15 to 20 minutes while it does its magic. Once the time has passed, rinse the residue with clean water and admire your newly cleaned grout!

Caution: Oxygen bleach and chlorine bleach are not interchangeable. Bleach is harsher and will damage your tiles even quicker than oxygen bleach.

The best way to keep your grout clean

A clean room and floor are essential to keep the grime away from your grout. We can help you with that! Rochester Residential & Commercial Cleaning provides you with the best cleaning services and the most prepared house cleaners in the area. Request your free quote now!

Categories
Uncategorized

Don’t Wait ‘Til Spring! 6 Signs You Should Deep Clean Your House

Choosing between a light or a deep cleaning session to tackle the mess in your home can be tricky sometimes. If you struggle with the decision, these six signs will help you.

Rochester Residential Commercial Cleaning Dont Wait Til Spring 6 Signs You Should Deep Clean Your House scaled

Rochester Residential & Commercial Cleaning will leave your house squeaky clean. Check out our deep cleaning package!

Categories
Uncategorized

How To Rid Your Home Of Cobwebs

Having a spotless house is every homeowner’s dream, but that is hard to fulfill if cobwebs are spotted everywhere. 

Fortunately, owning a squeaky-clean home is possible if you know what to do! Here are a few tips and tricks to help you eliminate cobwebs and leave your home nice and clean. 

Do cobwebs appear out of nowhere?

Here’s one thing you need to know about cobwebs: They don’t actually appear out of nowhere; in fact, they have been there long enough, and you’re just noticing them now! 

These cobwebs are left to gather dust instead of a spider’s meal, and they’re almost impossible to see before they get dirty. So, you need to look out for them and avoid them building up in your home.

How to get rid of cobwebs

Cleaning cobwebs is pretty easy once you know where to look, but reaching them is not so much. That’s why you need to use the proper tools for this task. Here are two methods you can try:

Extendable Duster

Your first option is to use an extendable duster for better reach. This way, you can get to difficult spots where spiders build these pesky webs. Plus, the soft materials of the duster are perfect for catching sticky threads without scratching your surfaces.

However, getting a store-bought duster is not the only option. You can attach a spare microfiber sock to a stick and use that as an improvised tool! The length of the pole will give you a similar reach, and microfiber is a great fabric for cleaning almost anything.

Vacuum cleaner

A more effortless (but pricey) option is getting a long wand attachment for your vacuum cleaner. This attachment is an excellent investment to clean the hard-to-reach places in your home.

Plus, using a wand attachment makes cleaning cobwebs easier since you’ll only have to point at them with the vacuum cleaner and suck them.

How to prevent cobwebs in your home

Are you looking for a more permanent solution? Here are a few things you can do to keep your home cobweb-free for longer.

Keep the spiders away

It might be too obvious to say that getting rid of spiders will reduce the cobwebs in your home, but it’s true! You can do this in two ways:

  • Make spider repellents: Strong smells in repellents will work wonders on keeping spiders away from your home. You don’t even have to get one from a store! Just mix water, a splash of soap, and a couple of crops of tea tree or citrus essential oil inside a spray bottle.
  • Seal the cracks: Stop the spiders from coming uninvited! So, get working on sealing the cracks or small spaces in the windowsills, light fixtures, doors, etc.—cover every possible spot spiders can get through.

Don’t forget to clean often

As mentioned before, cobwebs usually sit for a long time before you notice them. So, frequent cleaning will save you from that! 

Even if you don’t see any cobwebs, clean the high and hidden spots in your home and the corners of the rooms where you would find cobwebs—this way, if there’s a spider web you don’t see, you will clean it before it gets dusty!

Are the cobwebs gone? There’s still plenty to clean!

Is your house cleaning far from over? Don’t worry! Rochester Residential & Commercial Cleaning can take care of your daily chores so you can enjoy all the benefits of having a clean home without doing all the work. Get your quote now!

Categories
Uncategorized

Products From Your Cleaning Stash You Shouldn’t Mix

Cleaning products like ammonia or bleach are better when used separately from other cleaners. Why? Keep reading to find out.

Rochester Residential Commercial Cleaning Products From Your Cleaning Stash You Shouldnt Mix scaled

Our fully trained cleaners at Rochester Residential & Commercial Cleaning will safely and thoroughly clean your place. Get your free quote now!